How to get sharp and non-grainy photos in low light?
Are you fed up with grainy images and always trash talk about your gear for lower quality photos in low light. Well then here are a few tips on how you can get sharp images in low light.
Low light photography can be intimidating and is something every single photographer has to deal with. But there are a few things you need to keep in mind for better low light photos. Irrespective of where you are shooting: a wedding party or capturing the landscape at dusk or shooting the skies, it's crucial for you to understand the basics of low light.
The first thing to do when you are filming in no light is to set your expectations low. The camera is just a light-capturing device so the lesser the light the more work is to done by your camera. Without ado, let's get started with a few tips on better low light photos.
Shoot in Raw Format and Manual Mode
If you are not going to shoot raw then you are never going to have the detailed information in the picture. As previously said your camera is just a light-capturing device. So shooting raw is going to make sure that you have enough information to experiment upon. When shooting in a low light situation you have to make sure you find out your priorities, feel comfortable & start experimenting. It's not like that you follow these tips and get the best night images, you have to take your time and experiment according to your environment.

When shooting in auto mode you won't have the control over shutter, aperture, and ISO to create a balanced exposure. The camera won't be able to detect if the photo is blurry because of motion or shaking. So always shoot manual to have better control of aperture, shutter speed, and ISO.
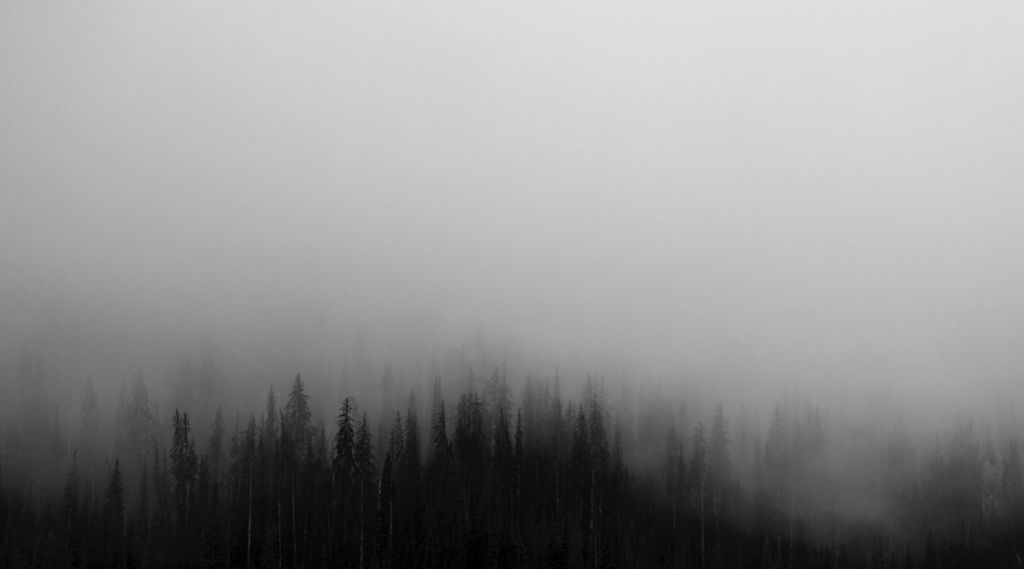
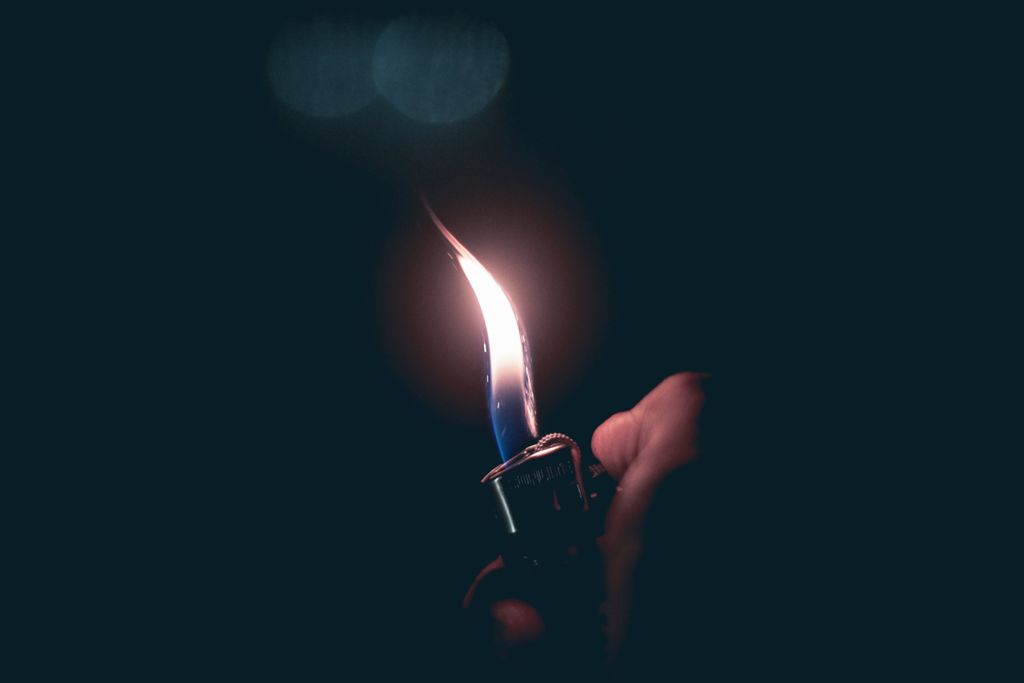
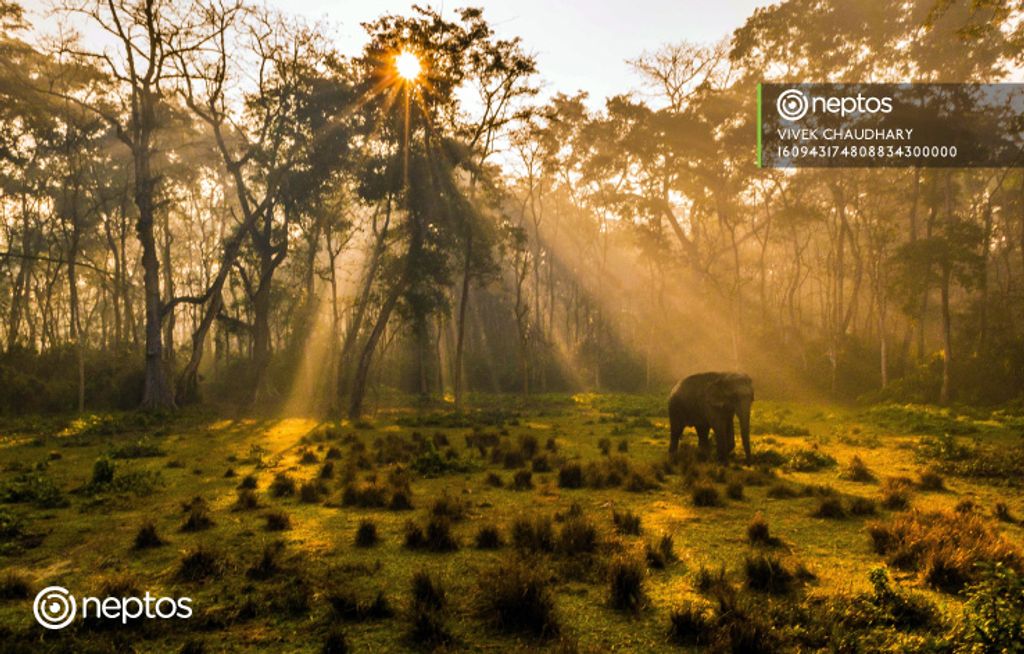
Find Available Light
What is available light? Let's get started with the definition. Available Light is the source of light that are present while photographing your subject i.e. Light bulbs, windows reflections, fire, sunlight, etc.
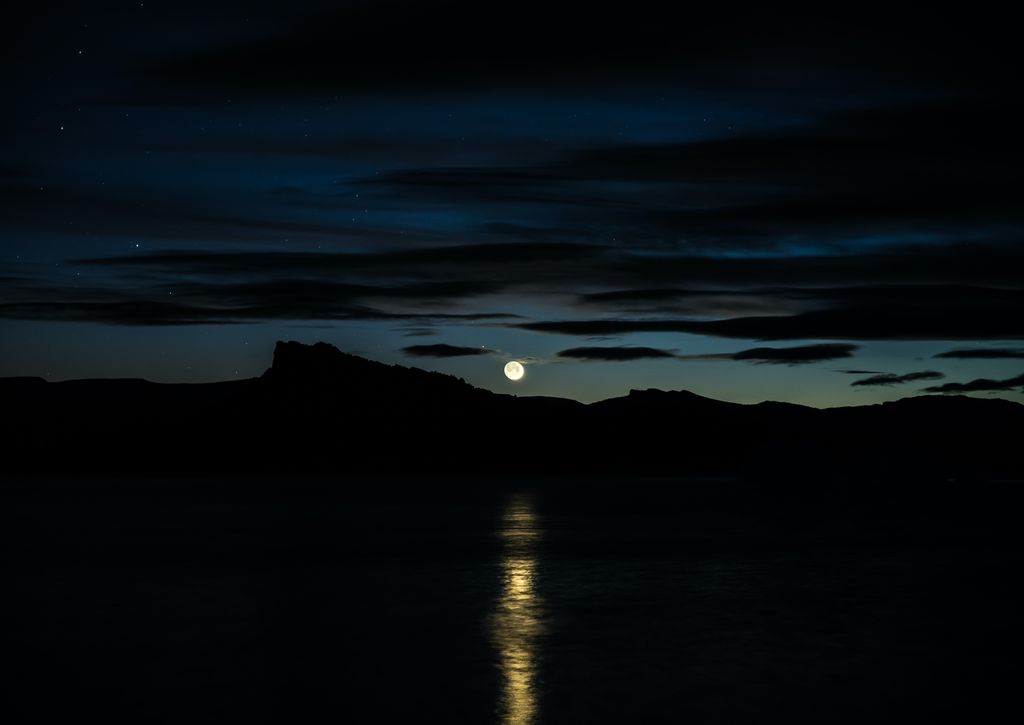
The available light around you is a great opportunity to get sharper images. Generally, photographers prefer early morning sunlight, then late afternoon or evening sunlight and generally avoid the harsh afternoon sunlight. In all these scenarios at least there is light. The real problem is in the late evening or night time when even minimum light is absent. This is when the exposure parameter comes into play.
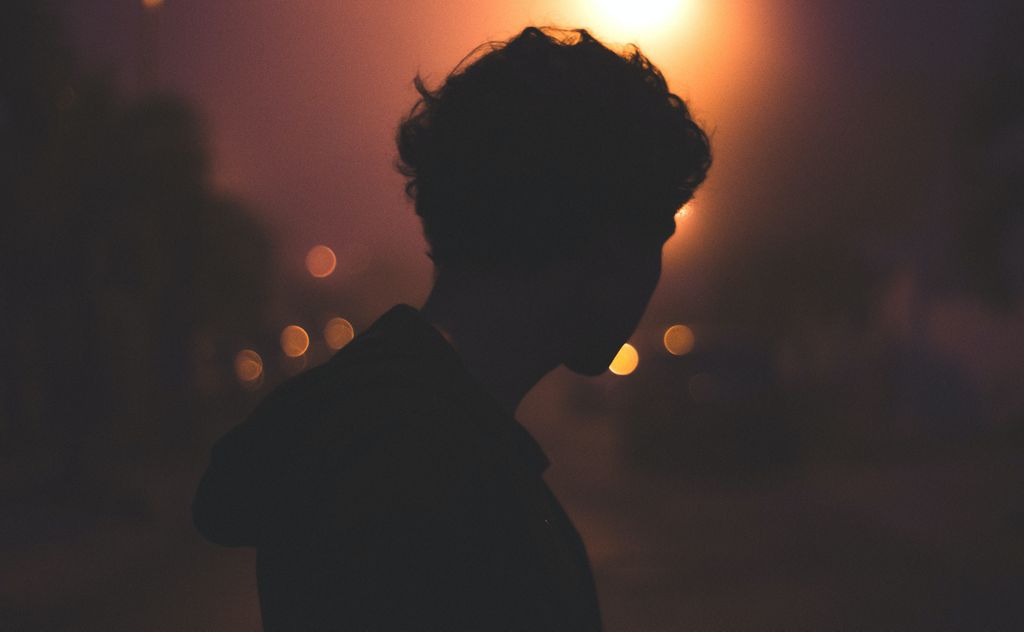
Try Removing Inappropriate Motion Blur
The most intimidating thing for photos in a low light situation is motion blur. This happens when the shutter of your camera is open for a long time that a little shake in your subject or camera's sake is detected by the sensor.
Motion blur is not always the photo bomber. It is often used to show the speed, action, or movement of a subject. For, example while shooting someone running, a slight blur shows that the person is moving which helps to tell a better story.

But when you are expecting a sharp portrait and it comes out blurry, it's frustrating and also impossible to fix in post-production. So if you want sharp images in low light then you need to get things right in your camera. Try using tripod or stabilizer to avoid unwanted motion blur.
Adjust the shutter speed for moving objects
While taking images in low light, you have to make sure that there is enough light that hits your sensor to get the maximum information of the image. A too fast shutter speed will freeze your motion and makes the image underexposed while a too slow shutter speed will create motion blur which in turn reduces the image quality.
In low light, if you are taking pictures of static objects a shutter speed of 1/60s or 1/120s is fine and if you are shooting the subject moving faster, running, dancing, or in extreme motion, you can use a shutter speed of 1/400s. Take control of your shutter speed by experimenting with the situation.
Open the aperture
You set the right shutter speed and still get an underexposed image? Try opening the aperture to the widest as possible. Different cameras have different values of aperture ranging from 1.2 to 3.5 or 4.Opening the aperture on the lens lets in more light to increase the exposure.

A single stop difference in aperture just doubles the amount of light entering the camera. So widen your aperture as much as possible and also it will give you a pleasant Bokeh effect.
Lower the ISO
ISO simply is a camera setting that will brighten or darken your image. As you increase your ISO number you will ger progressively brighter image and vice versa. But if you increase the ISO to the fullest to get a brighter image you will end up getting grainy and noisy images. For this, you have to know the maximum number of ISO your camera can go without the noise levels. Generally, the camera goes to 1600 or 3200 ISO without noise depending on your camera.
These are a few tips on how you can get less grainy low light images. We hope you will get better low light photographs as you hit the street next time.
6 Pro Tips to level up your Travel Photography

Stock Photography - Understanding the Client Needs

6 Non-technical ways you can use to level up your street photography game
Subscribe to Our Blog
Stay up to date with the latest marketing, sales, and service tips and news.
Comments(0)